
Once you have created your first tests in Robot Framework, next step is to include those tests in your Continuous Integration (CI) System. Here I will show the different steps to do so in Jenkins.
Let’s assume you have
- a Jenkins server
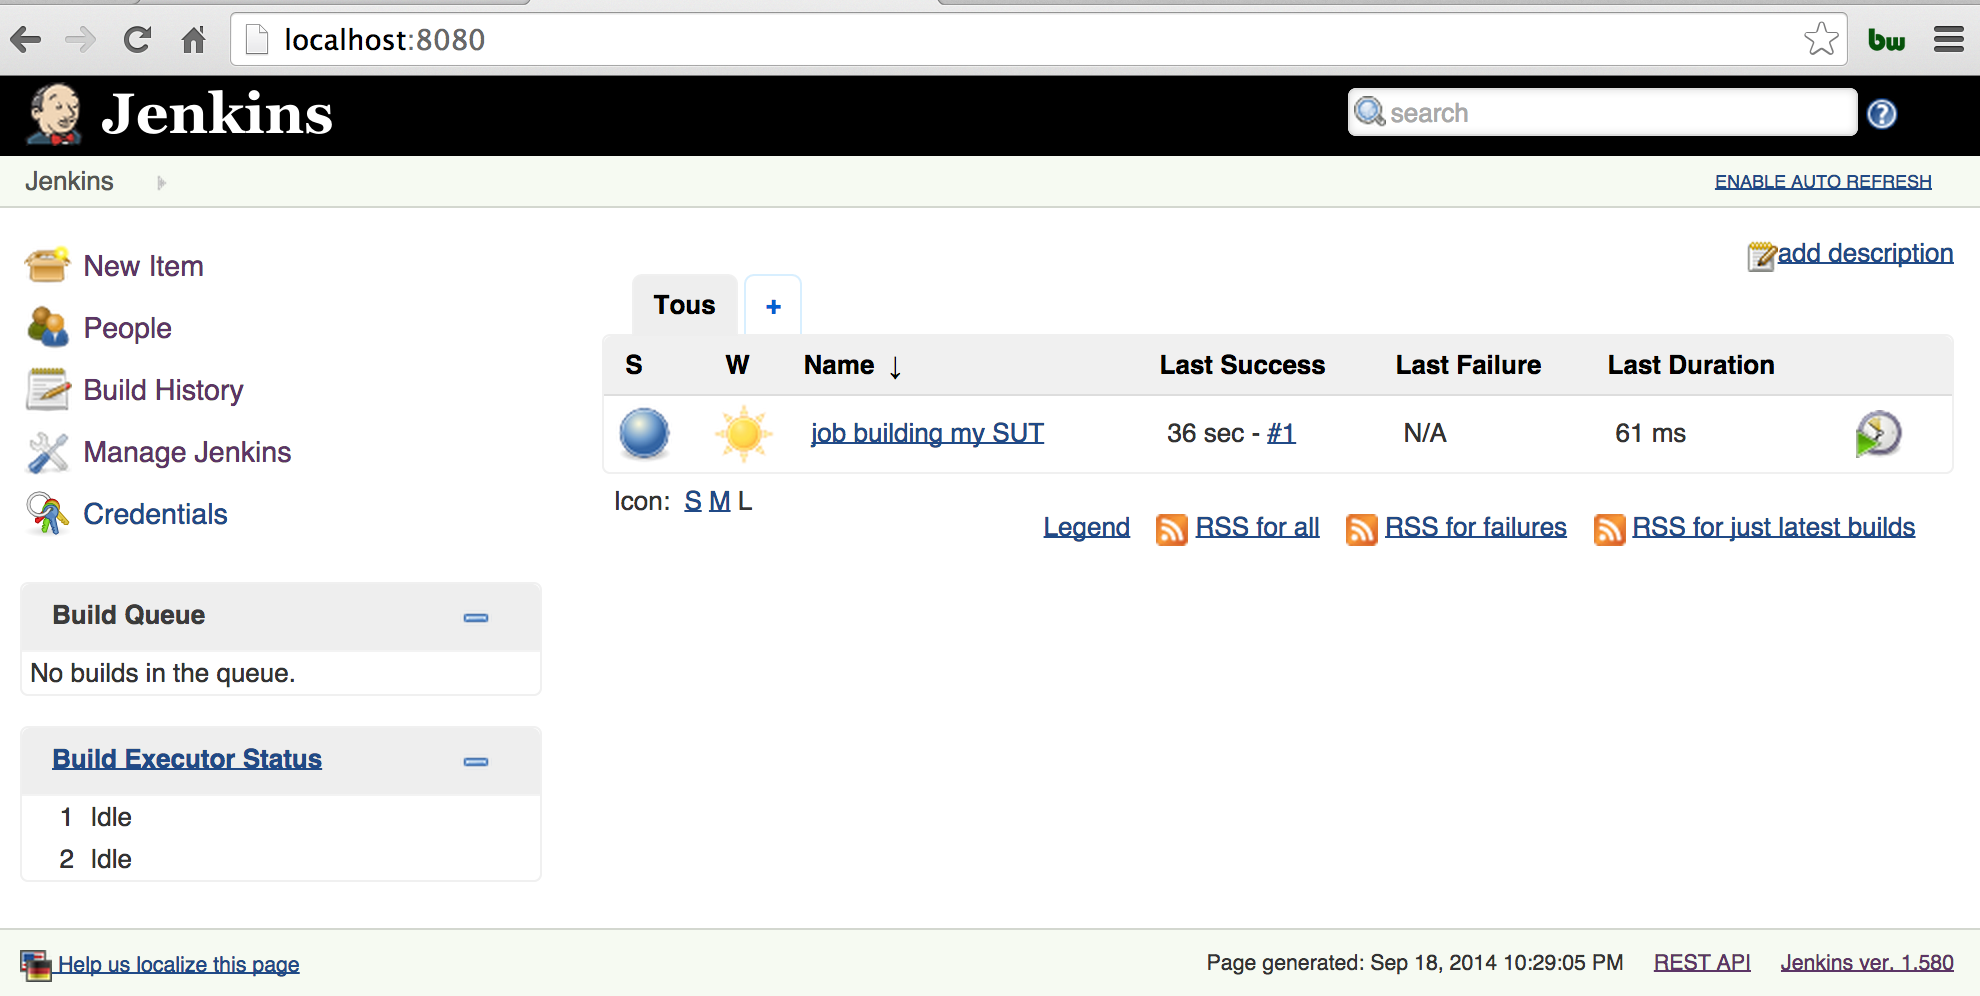
- a Software Under Tests (SUT) that is built by a job in Jenkins
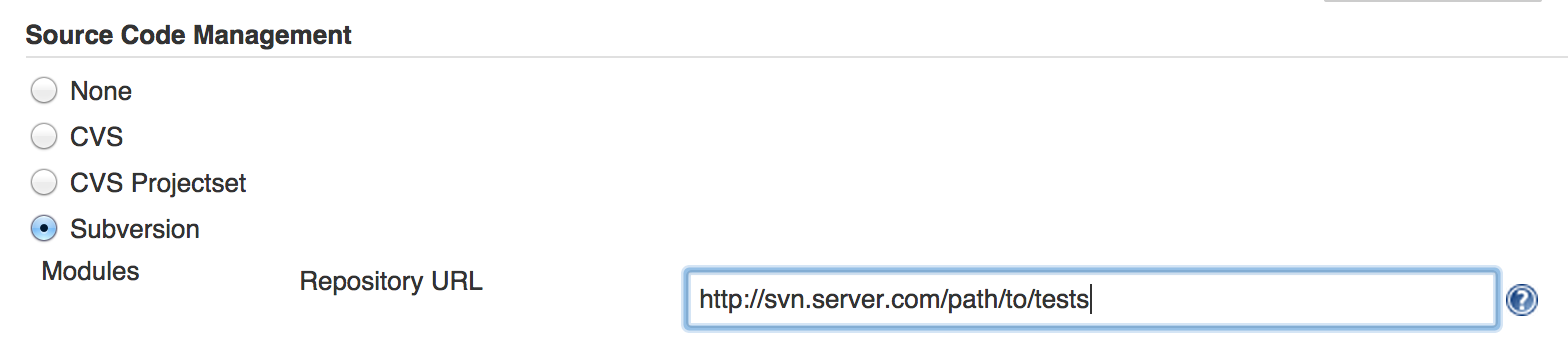
- a portfolio of Robot Framework tests stored in an SCM repository (we will use SVN for this example)
First we create a new job to launch our Robot tests:
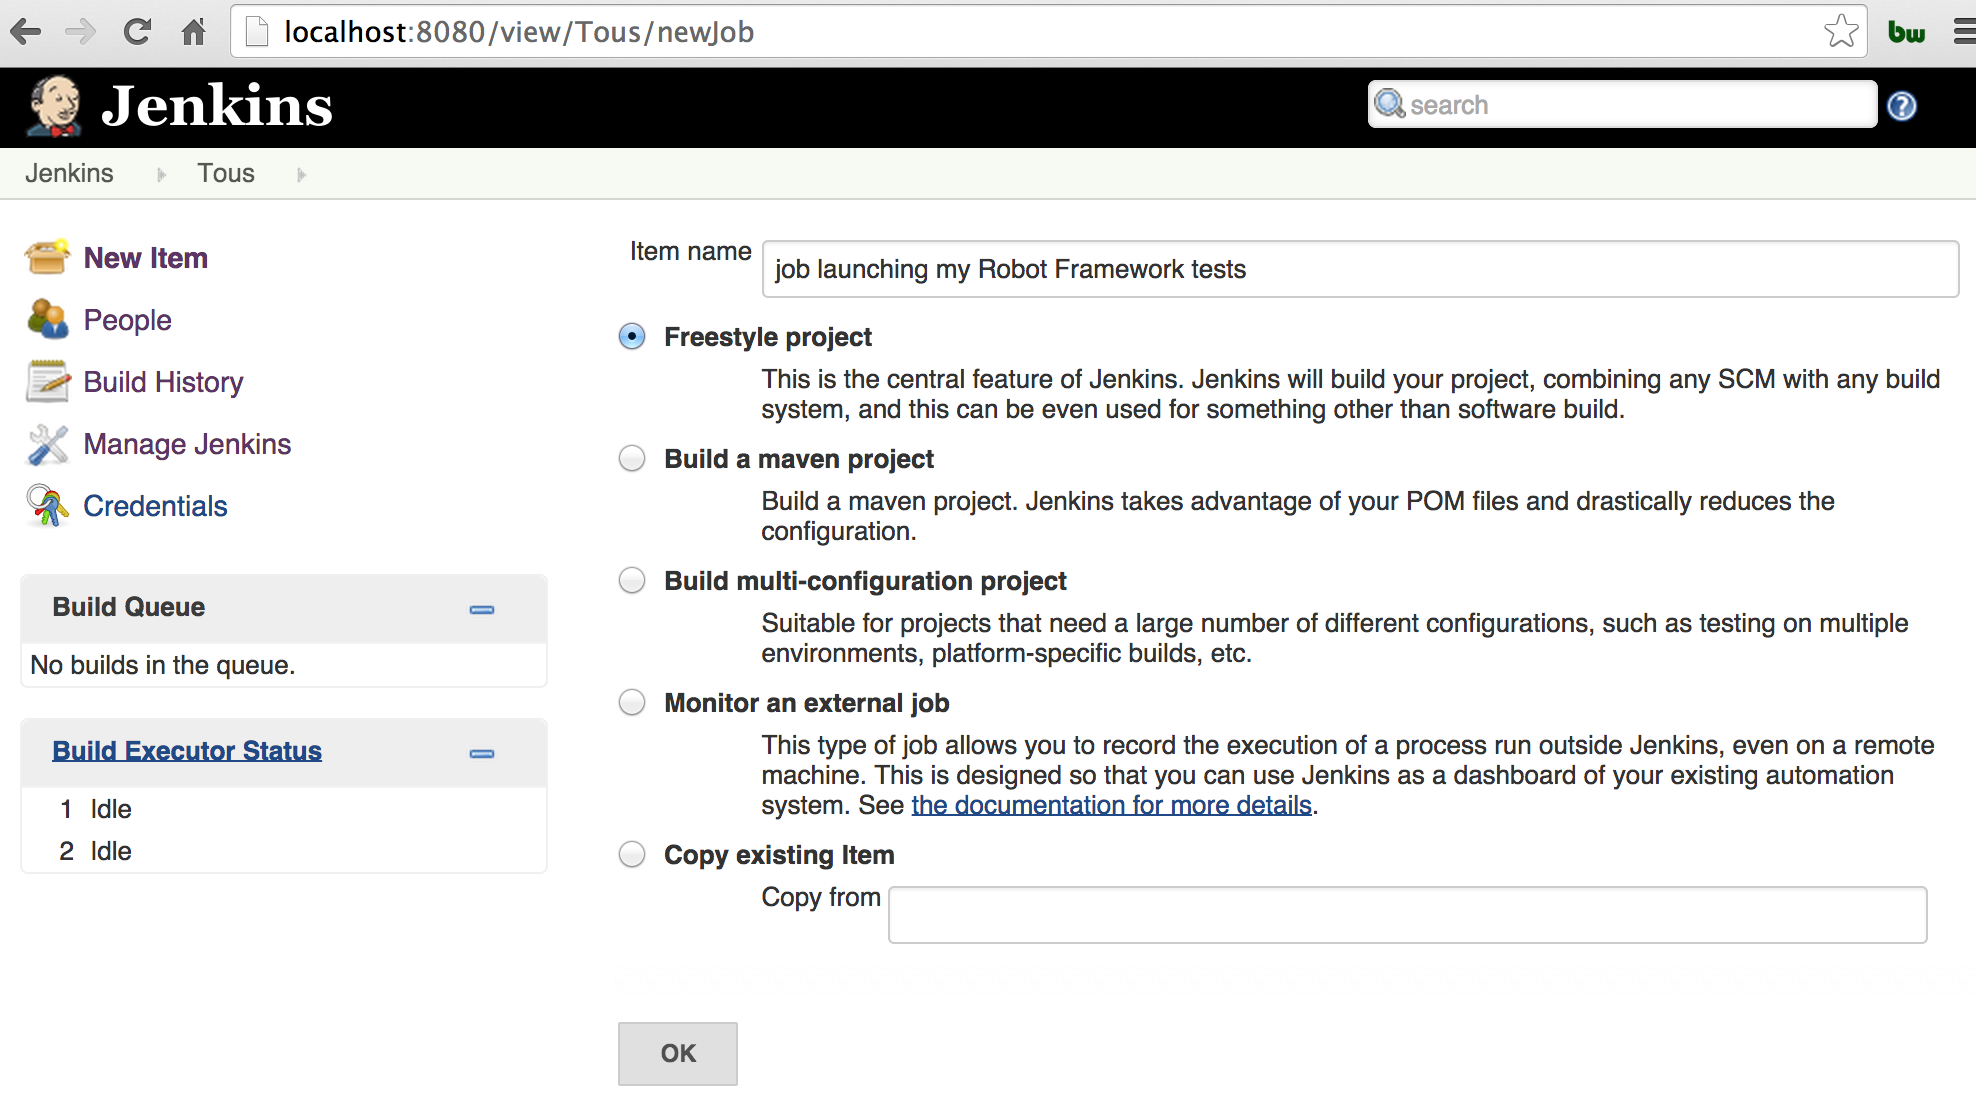
Once the job is created, we configure it.
- set up Source Code Management for the source code of the tests:

- set up a first “Build Trigger” on the success of the job that builds the SUT:

- set up a second “Build Trigger” on changes in the Source Code of the tests:
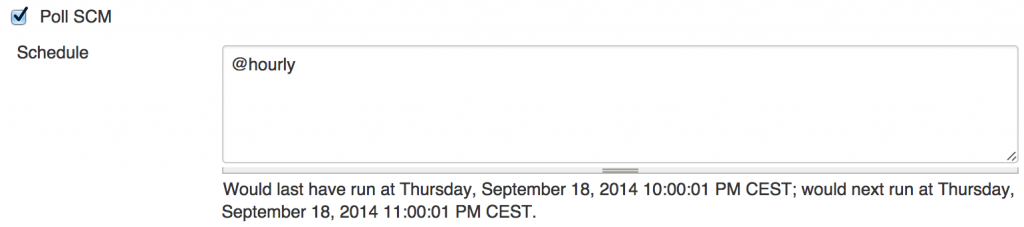
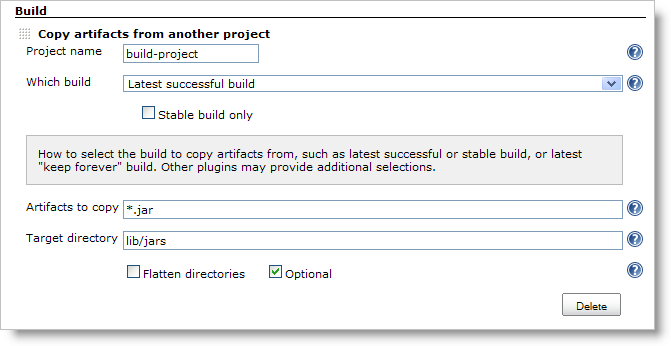
This way your tests will be launched either if there is a new build of the SUT or if your tests have changed. Second trigger is relevant because some modifications in your tests may have broken some of them, and you don’t want to wait for the next build of the SUT to find it out. In other words, when a test fails in Jenkins, it is good to know if this is a consequence of a change in the SUT of a change in the tests (if both changed, analysis will be tricker). - get the artefact from the project that build your SUT so that your SUT is available from your Jenkins’ workspace where the Robot tests will be run. To do so you can either use the Jenkins Copy Artifact Plugin or write a piece of Batch/Shell script.
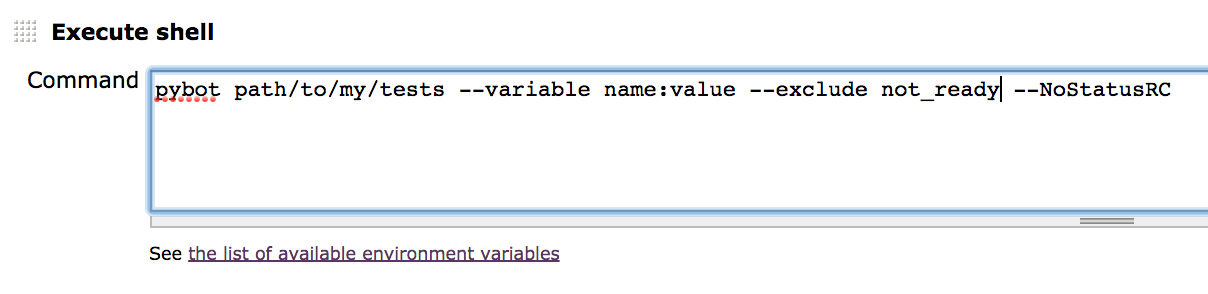
- The comes the step in which Robot tests are going to be launched. For this you create a “Execute Shell” Build step that contains, at least:
pybot path/to/my_tests/
and all the –variable, –include, –exclude etc. that you use to customise you run.
One noteworthy command line option in the context of a CI server is –NoStatusRC, which force Robot’s return code to zero even when there is test that fails. This way the status of the Jenkins build can be driven by Robot Jenkins Plugin like you will see in final step.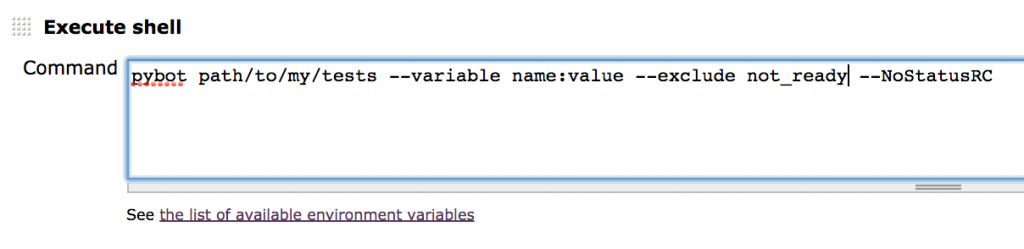
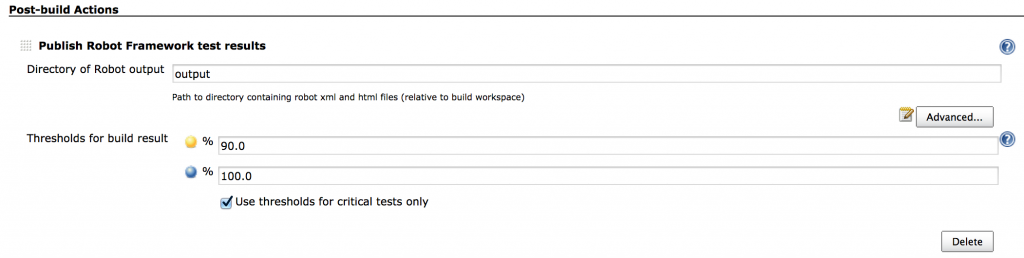
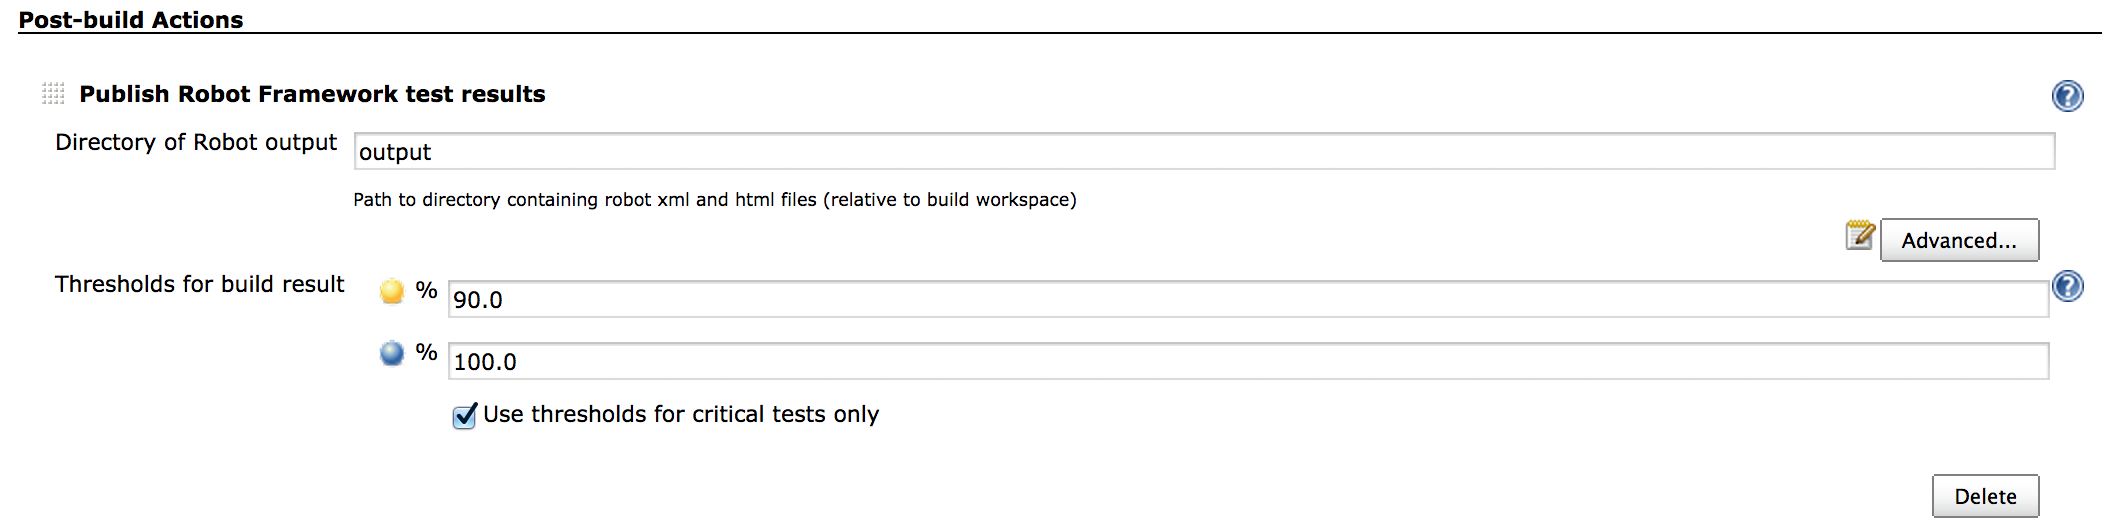
- Finally, to have a more granular settings of the results of the tests, and keep a copy of the report/log of the test executions located in the Jenkins Server, you can use Robot Framework Plugin. Once the plugin is installed, it will be available in the list of “Post Builds Actions”. A simple configuration would be like this:
 and after a couple of builds, the project page would look like that:
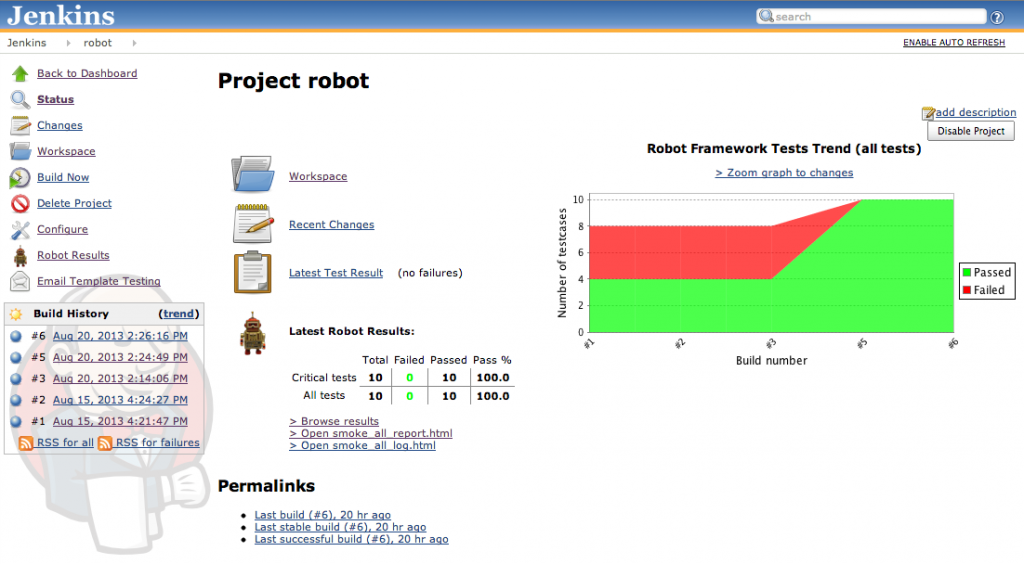


Once this basic setup is working, you will find out many options in Jenkins and Robot Framework to get more value out of it. To give just one example, once the test portfolio becomes large and/or long, you might find out that this is not efficient to launch the full regression suite at once when there is a change in the SUT or the tests’ code. A good strategy is to have 2 Jenkins job. The first one (“smoke tests”) is running only a portion of the whole suite that runs quickly (say 5/10 minutes for example):
pybot path/to/my_tests/ --include smoke --exclude not_ready
and the second job (“full tests”) launches all the tests:
pybot path/to/my_tests/ --exclude not_ready
but is launched only when smoke tests are run successfully: 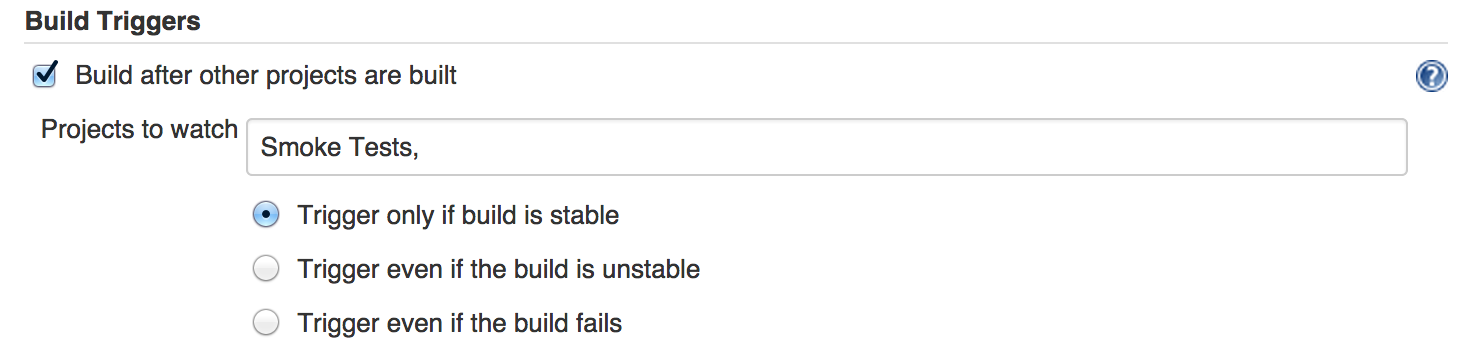
so if your SUT or your tests have some essential feature (covered in the smoke test) broken, you will save your machine a “full test”, and, more important, the team have a quicker feedback on the quality of the SUT build.